
Meta Description
Transform cheap vases into designer pieces with this simple DIY stone-effect paint hack. Learn how baking soda and paint create £100+ looks for under £10.
You know that feeling when you spot a gorgeous textured vase in a boutique shop, check the price tag, and nearly choke on your oat milk latte? £85 for a ceramic vessel? I've been there. The good news? That expensive, weathered, artisanal look you're coveting can be yours for about £5 and an hour of your time.
I'm talking about the kind of vase that looks like it was hand-thrown by a ceramicist in the Cotswolds, aged gracefully over decades, and definitely didn't come from your local supermarket. The secret ingredient? Baking soda. Yes, the same stuff sitting in your kitchen cupboard right now.
Affiliate Disclaimer: Just so you know, this post contains affiliate links. If you purchase something through these links, I may earn a small commission at no extra cost to you. This helps keep Charming Homescape running and allows me to keep sharing budget-friendly decor ideas with you. I only recommend products I genuinely love or would use myself. For more details, check out our affiliate disclosure.
Why This Actually Works
Here's the thing about expensive-looking home decor: it's all about texture and imperfection. Those designer vases you're drooling over? They look special because they have depth, variation, and that lived-in quality that screams "I'm not mass-produced."
When you mix baking soda with paint, you create a gritty, stone-like texture that mimics natural materials like terracotta, sandstone, or aged ceramic. The baking soda adds dimension and tooth to the surface, while the paint gives you complete control over colour. It's the DIY equivalent of alchemy, and it works on pretty much any smooth surface: glass, plastic, ceramic, you name it.
The best part? Imperfections are your friend here. Uneven application, visible brush strokes, and slight variations all contribute to that artisanal, handmade look. You literally cannot mess this up.

What You'll Need
Let's keep this simple. Pop to your local pound shop, hardware store, or raid your crafting stash, and grab:
- A cheap vase (glass works brilliantly, but plastic or ceramic are fine too)
- Acrylic paint in your chosen colour (terracotta, warm white, sage green, or dusty grey all work beautifully)
- Baking soda (bicarbonate of soda if you're feeling fancy)
- Paint brushes (one larger, one smaller for detail work)
- A mixing container (old yogurt pot, small bowl, whatever)
- Matte sealer spray (optional but recommended for longevity)
- Sandpaper (fine grit, 220 or higher)
Total cost? Under £10 if you're buying everything from scratch. Less than £5 if you already have paint and baking soda at home.
The Stone-Effect Technique: Step-by-Step
Step 1: Prep Your Surface
Clean your vase thoroughly with warm soapy water to remove any grease or residue. If you're working with glass, give it a quick wipe with rubbing alcohol or white vinegar. Let it dry completely.
For ultra-smooth surfaces like glass, lightly sand the exterior with fine-grit sandpaper. This gives the paint something to grip onto. Don't go wild: just a gentle scuff to create some tooth. Wipe away the dust with a damp cloth and let it dry.
Step 2: Mix Your Magic Potion
Here's where the transformation begins. In your mixing container, combine paint and baking soda using roughly a 2:1 ratio: two parts paint to one part baking soda. Start with about two tablespoons of paint and one tablespoon of baking soda for a standard-sized vase.
Mix thoroughly. You want a slightly gritty paste that's still spreadable but noticeably thicker than regular paint. If it feels too thick, add a tiny drop of water. If it's too thin, add more baking soda. There's no exact science here: you're creating texture, not following a chemistry exam.

Step 3: Apply the First Layer
Using your larger brush, apply the textured paint mixture to your vase in random, organic strokes. Don't aim for perfection. Vary your brush direction, leave some areas thicker than others, and embrace the uneven coverage. This is what creates depth and that handmade quality.
The baking soda will create a naturally gritty texture as you paint. If you want even more dimension, use a stippling motion (dabbing the brush up and down) in certain areas to build up texture.
Let this first coat dry completely. Depending on thickness and humidity, this usually takes 1-2 hours. Touch the surface gently: if it feels cool or damp, give it more time.
Step 4: Build Depth with a Second Layer
Once dry, assess your vase. Want more texture? Apply a second layer using the same mixture, focusing on areas that would naturally age or weather: the base, the rim, any carved details or seams.
For an aged terracotta look, consider mixing a slightly darker shade for your second layer (add a tiny bit of brown or burnt sienna to your original colour). Apply this sparingly to recessed areas or the bottom third of the vase. This creates shadow and depth that screams "expensive boutique find."
Alternatively, go lighter for the second layer to create highlighting and dimension. A cream colour over terracotta, or white over sage, can create beautiful variation.
Step 5: Distress and Refine
Once your second layer is dry, you can enhance the aged look by gently sanding certain areas with fine-grit sandpaper. Focus on edges, raised areas, and places that would naturally wear over time. This reveals layers underneath and adds to that vintage, weathered aesthetic.
If you've gone too heavy-handed anywhere, a damp paper towel can gently dab away excess while the paint is still workable. Remember: random variation is your goal, not uniform coverage.

Step 6: Seal and Protect
Once you're happy with the look and everything is bone dry (give it at least 4-6 hours, or overnight to be safe), seal your masterpiece with a matte clear spray. This protects the finish and prevents the baking soda from potentially shedding over time.
Take your vase outside or to a well-ventilated area, and apply 2-3 light coats of matte sealer, letting each coat dry between applications. Matte finish is key here: gloss will ruin the whole artisanal vibe you've worked so hard to create.
Colour Combinations That Work Brilliantly
While terracotta is having a major moment, don't limit yourself. Here are some stunning colour combinations to try:
Earthy Neutrals: Warm white base with beige or light brown second layer creates a limestone effect that works with literally everything.
Sage Sophistication: Soft sage green with white highlights gives serious Scandinavian vibes and looks gorgeous with dried florals.
Dusty Blue: A muted blue-grey creates a weathered pottery look that feels both modern and vintage.
Charcoal Depth: Dark grey or charcoal with subtle black shading mimics concrete or cast iron: perfect for industrial-style spaces.
Beyond the Basic: Quick Variations
Once you've mastered the baking soda technique, you can level up with these quick additions:
Patina Effect: After your base layers are dry, mix a tiny amount of dark brown or black paint with water (very diluted) and brush it into crevices. Immediately wipe away excess with a damp cloth, leaving colour only in the recessed areas. This mimics decades of natural aging.
Two-Tone Drama: Dip just the bottom third of your vase in a contrasting colour before applying your textured paint to the rest. Let it dry, then use masking tape to create a clean division line if needed.
Speckled Stone: Before your final layer dries, use an old toothbrush dipped in diluted paint to flick tiny specks across the surface. This creates a granite or speckled stone effect that looks incredibly high-end.

Styling Your New "Designer" Piece
Now that you've created your masterpiece, let's talk about making it look even more expensive in your space. The vase itself might be transformed, but how you style it makes all the difference.
Go Minimal: Sometimes the most expensive look is nothing at all. Display your textured vase empty on a shelf, bookcase, or console table. Let the texture and form be the statement.
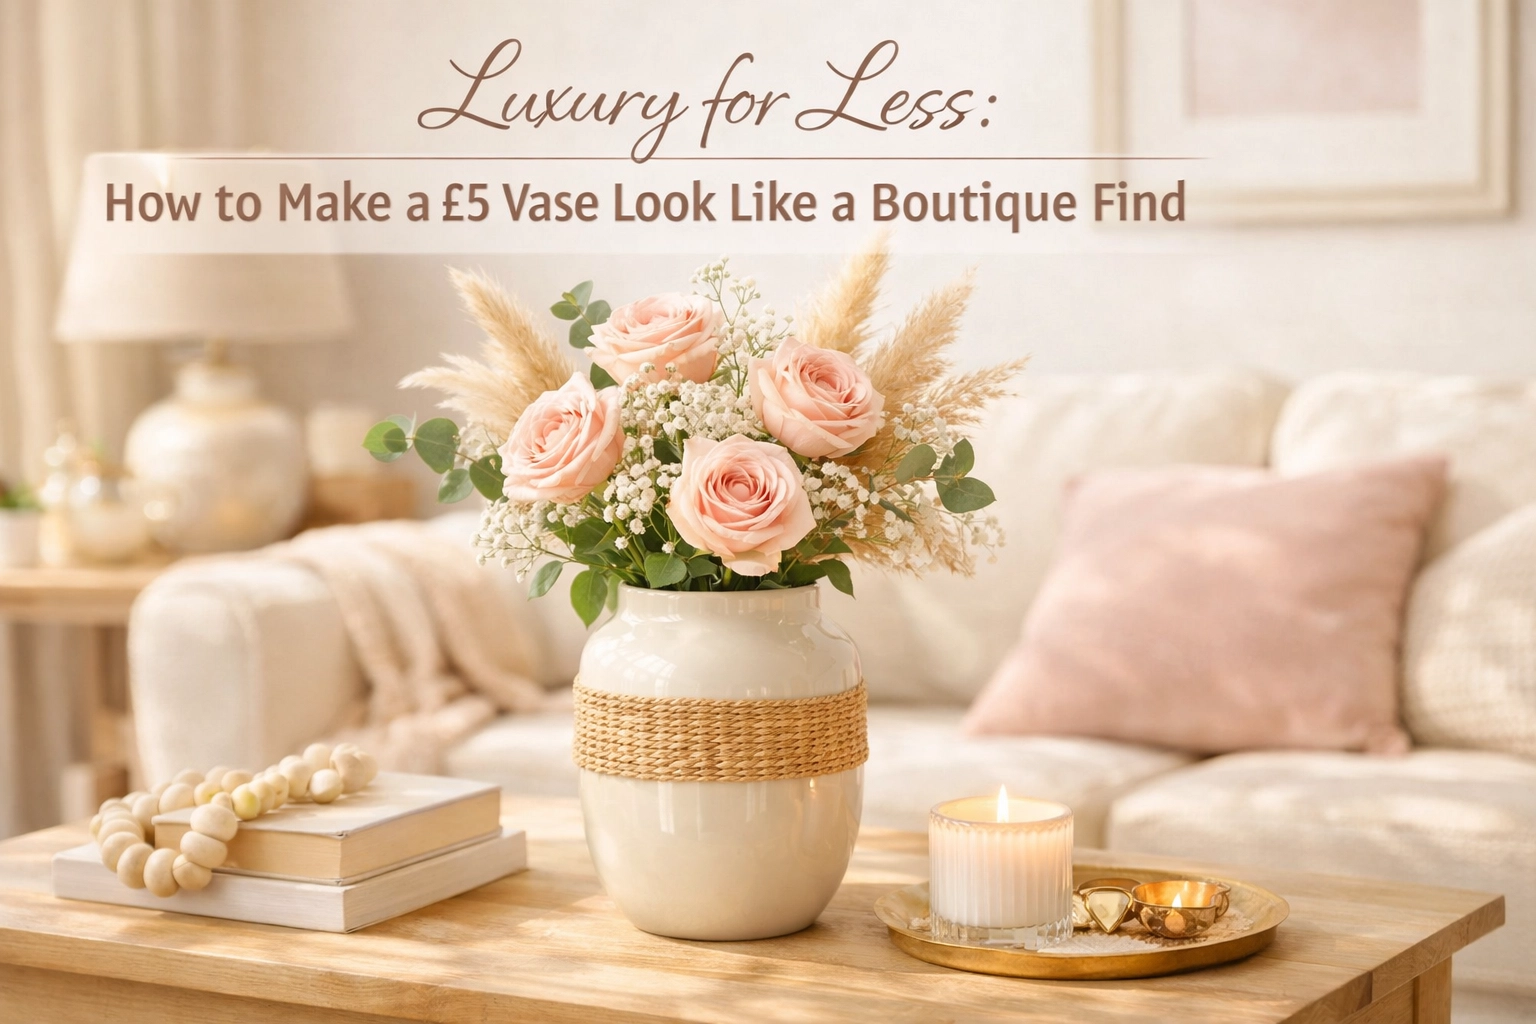
Dried Everything: Fresh flowers are lovely, but dried grasses, pampas, or eucalyptus in your DIY vase? That's the kind of styling that looks like you hired an interior designer. The natural, muted tones of dried botanicals complement the handmade texture perfectly.
Group in Threes: Create a vignette using three vases of varying heights in similar tones. Your DIY piece surrounded by other vessels (even cheap ones) creates a collected, curated look that suggests you've been thoughtfully gathering pieces over time.
Contrast is Key: Place your matte, textured vase next to something shiny: a brass candlestick, a glossy photo frame, or a metallic tray. The contrast makes both pieces look more intentional and expensive.
For more ideas on making budget pieces look luxurious, check out 5 Textures That Instantly Make a Budget Space Feel Expensive: texture is truly the secret weapon in elevated decor.
The Real Cost Breakdown
Let's be honest about what you're saving here. A similar textured, artisanal-looking vase from boutique retailers typically runs £45-£95. You've just created the same look for:
- Vase: £3-£5
- Acrylic paint: £2-£4 (and you'll have loads left over)
- Baking soda: £0.50 (already in your cupboard)
- Sealer: £4-£6 (one can does multiple projects)
Total investment: £10-£15 for your first project, with materials left over for several more. That's an 80-90% saving, and I'd argue your version has more character because it's unique. No one else in the world has that exact vase.
Why This Works for Renters Too
One of my favourite things about this project? It's completely reversible if you're working with items you already own but want to refresh. Don't like how it turned out? The paint and baking soda mixture can be scraped or sanded off glass surfaces, returning them to their original state.
Plus, this is a brilliant way to upcycle vases you've accumulated over time: those generic clear glass ones from supermarket bouquets, mismatched charity shop finds, or that ugly vase your aunt gave you three Christmases ago. Transform them into a cohesive collection without spending a fortune or drilling into walls.

The Bottom Line
There's something deeply satisfying about creating something beautiful with your own hands, especially when it saves you serious money and results in a piece that looks genuinely expensive. The baking soda and paint technique isn't just a clever hack: it's a legitimate transformation that works.
You don't need to be crafty, artistic, or particularly skilled. You just need an hour, about £10, and the willingness to embrace imperfection. Because here's the secret those £85 boutique vases don't want you to know: the flaws are what make them special. The irregularities, the texture, the slightly uneven finish: that's not a manufacturing defect. That's character. That's what you're paying for.
So grab that sad little vase from your cupboard, mix up some magic with baking soda and paint, and create your own designer moment. Your shelves (and your wallet) will thank you.
Warmly,
Maria
P.S. For more budget-friendly ideas and cozy vibes, come hang out with us on our Charming Homescape Pinterest boards!
Leave a Reply