
I found an old wooden chair at a yard sale. It looked faded and dusty. But I saw its potential.
I started to think about painting it. Painting furniture is not just about making it look new. It’s about adding our dreams and memories to it.
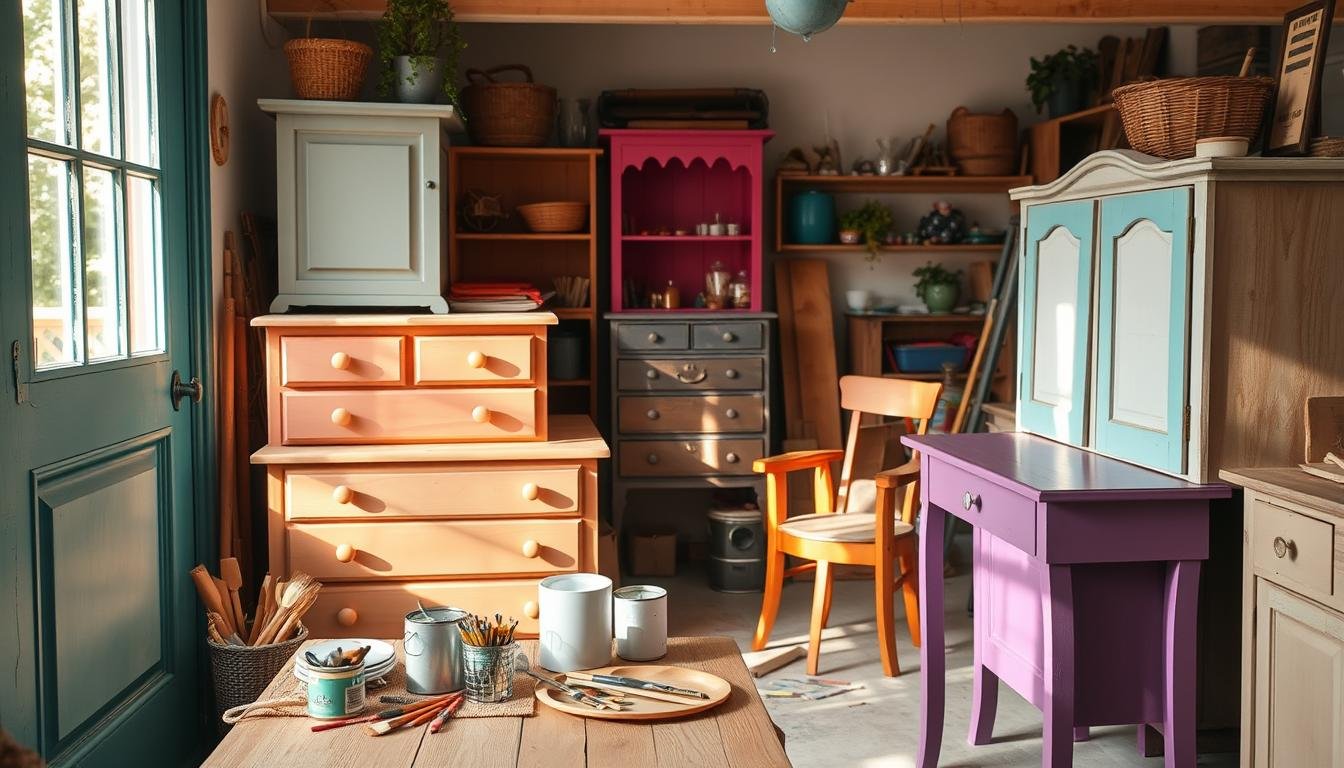
I began to learn about furniture painting. It was a fun journey that made my home brighter. It also made me more creative.
In this guide, I want to share what I’ve learned. I hope to help beginners like me. We’ll learn about supplies and techniques together.
Introduction to DIY Furniture Makeovers
DIY furniture makeovers have become very popular. People love to give their homes a personal touch. Painting furniture is a great way to do this.
It’s not just about saving money. It’s also about being creative. Start with basic tools like a foam roller and brushes. Use two to three thin coats of good-quality paint for the best look.
Primer is key for a good finish. Use Zinsser Bullseye 123 to make sure paint sticks well. Sandpaper helps get the surface ready for primer.
Painted furniture can be anything you want. You can go for modern or vintage looks. Pinterest is full of ideas to inspire you.
Benefits of Painting Furniture
Painting furniture has many good points. It makes old items look new and modern. This way, you can make old furniture look great again.
Painting also makes furniture last longer. It’s cheaper than buying new things. A new paint job can make furniture look better and more valuable.
Painting furniture is good for the planet too. It means we don’t need to buy as much new stuff. This helps the environment and makes our homes look better.
Painting furniture lets you be creative and show your style. It makes our homes more special and personal.
Choosing the Right Furniture for Painting
When you start painting furniture, picking the right pieces is key. Knowing what to look for makes a big difference. First, check the material. Solid wood is great for painting, but laminate can be tricky.
Real wood shows scratches easily, but laminate doesn’t. This helps you decide what to paint.
The *condition* of the furniture is also important. Pieces with lots of wear need more prep. Look for cracks or peeling to see if it’s worth fixing.
Think about the design too. Classic styles are timeless, while modern ones might need special touches. This helps it fit your home better.
For those on a budget, thrift stores and scrap shops are good places to find furniture. You can make old pieces look new again. Just imagine what you can do with them.
The table below shows what to think about when picking furniture to paint:
| Factor | Consideration | Recommendations |
|---|---|---|
| Material | Identify real wood vs. laminate | Opt for solid wood or MDF for better results |
| Condition | Look for damage or structural issues | Refurbish only if in good condition |
| Design | Style and suitability for home décor | Choose timeless designs for longevity |
| Source | Where to find furniture | Thrift stores, scrap shops, and online marketplaces |
Painting furniture can save money if done right. A little paint and creativity can change an old piece into something new. Seeing an old item become new again is very rewarding.
Essential Supplies for Painting Furniture
Starting a DIY furniture painting project needs the right tools and materials. Knowing what you need can make a big difference. Here are the key supplies for painting furniture to help you succeed.
Cleaning Supplies
First, you must clean the surface well. Here are some cleaning supplies you’ll need:
- Sugar Soap for degreasing surfaces.
- A sponge and cloth for wiping clean.
- Medium to fine sandpaper to smooth rough areas.
- A screwdriver for removing handles and hardware.
- A pen or pencil for marking.
- A small pot for screws and handles to keep everything organised.
- Tomato ketchup can be surprisingly effective for cleaning metal handles.
Painting Tools and Materials
After cleaning, you need painting tools and materials. Here’s what you should get:
- Dust sheets to protect floors and furniture.
- Old clothes to safeguard against paint splatters.
- A tool to open paint tins, ensuring easy access.
- A stirring tool to mix the paint thoroughly.
- Good quality paint brushes for smooth application.
- Small rollers for larger, flat surfaces.
- A small paint tray to catch drips.
- A container for paint to facilitate easy handling.
Using these supplies makes painting furniture easier and more fun. Good preparation and the right tools lead to a beautiful finish. Your old furniture will look amazing.
Prepping Your Furniture for Painting
Getting your furniture ready for painting is key. It involves cleaning, fixing any damage, and sanding right. These steps make sure the paint sticks well and looks great.
Cleaning the Surface
First, I clean the furniture well. Dust, grease, and dirt stop paint from sticking. I vacuum inside drawers and wipe everything with a damp cloth.
For metal parts, hot, soapy water helps get rid of dirt.
Repairing Imperfections
Then, I fix any damage. Wood putty is great for filling in dents or holes. It makes the surface smooth and shiny.
After putting on the putty, I let it dry before moving on.
Sanding Techniques
Sandpaper is very important. I start with a rough grit to remove old varnish. Then, I use finer grits for a smooth finish.
I sand lightly between paint coats. Sanding sponges or sandpaper work best, depending on the surface.
These steps are the base for painting. They help the furniture look good and last long. With these done, I can pick the perfect paint colour and finish.
Understanding Different Types of Paint
Choosing the right paint for furniture is key. Knowing the differences between paint types is important. This helps get the look you want.
Furniture Paint vs. Latex Paint
Furniture paint is special. It sticks well and lasts long. Latex paint might chip and peel, especially on busy surfaces.
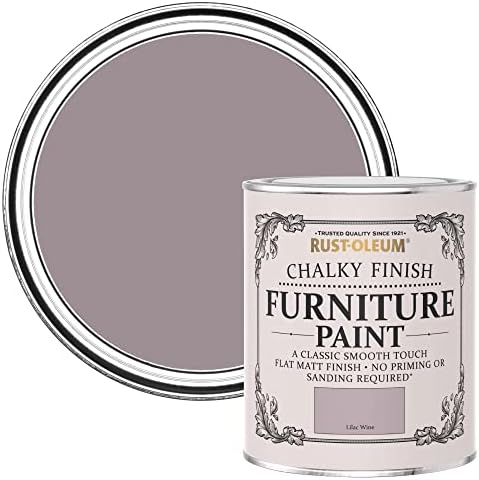
- Furniture Paint: Great for a smooth, lasting finish. Chalk and milk paint are good choices for creativity.
- Latex Paint: Cheaper but not best for furniture. It can chip and peel. Prices are £15 to £50 per gallon.
Recommendations for Paint Brands
Here are some top brands for furniture paint:
| Brand | Type of Paint | Coverage | Coats Required | Notes |
|---|---|---|---|---|
| Amy Howard One-Step Paint | Chalk Paint | 135-140 sq ft per quart | Two | Variety of colours available |
| Fusion Mineral Paint | Mineral Paint | 75 sq ft per pint | One | 10% discount available |
| General Finishes Milk Paint | Milk Paint | Varies | One or two | Durable without a top coat |
| Sherwin Williams Emerald Urethane Trim Enamel | Latex Paint | Varies | One | Smooth finish, suitable for larger projects |


Choosing the right paint makes furniture projects better. Knowing the difference between furniture paint and latex paint helps you choose wisely.
Painting Furniture: Step-by-Step Guide

This guide will show you how to paint furniture. We start with applying primer. This is very important for a good finish and to make your furniture last longer.
Applying Primer
First, we apply primer. This step is key because it helps the paint stick better and covers well. The type of furniture you have affects this. Always use a good primer for your paint to get the best results.
- Lightly sand the surface before applying primer for better adhesion.
- Use a sponge roller for a smooth finish, especially on flat areas.
- Ensure the primer coat is fully cured before moving on to painting.
Painting Techniques and Tips
When painting, follow some important steps. Use thin coats to avoid drips and get an even finish. You might need two coats for most furniture. If the colour is darker or the paint is clear, you might need a third coat.
Let each coat dry fully before adding more. This can take a week or two. Don’t forget to sand between coats for a smoother finish. I use brushes like the Purdy Clearcut for corners and details.
| Technique | Description |
|---|---|
| Thin Coats | Applying multiple thin layers prevents drips and ensures even coverage. |
| Sanding | Lightly sanding between coats enhances adhesion and smoothness. |
| Tools | Using a sponge roller for flat surfaces and quality brushes for detailed work. |
These steps make your furniture look great and last longer. With the right prep, primer, and paint, your furniture will show off your style.
Sealing Your Finished Piece
After painting my furniture, sealing it is key for a lasting finish. It keeps the paint safe and makes it look better. The right topcoat depends on the paint and how much use the piece will get.
Choosing the Right Topcoat
There are many sealers to choose from. The right one depends on your project’s needs. Here are the main types:
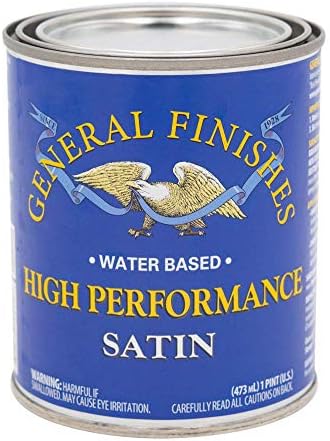
- Water-based sealers: Good for most projects, they keep the paint colour the same.
- Oil-based sealers: Not recommended because they can turn yellow over time, which is bad for light colours.
- Furniture wax: It makes colours pop and gives a soft finish. Annie Sloan wax is a popular choice that needs to be reapplied often.
I usually pick a water-based sealer because it’s versatile and easy to use. Oil-based ones can change the colour too much, which might ruin the look I want.
Application Techniques for Sealing
Applying the topcoat needs to be done carefully for a professional look. Here are some tips:
- Apply 3-5 thin coats for the best protection. Wait about an hour between coats for them to stick well.
- Use sandpaper with a grit of 300-400 to smooth out any bumps between coats, making the surface perfect.
- Put the furniture on painter’s pyramids to avoid sticking and damaging the topcoat.
By following these tips, I make my painted furniture last longer and look great. Sealing is a crucial part of painting that should not be skipped.
| Sealer Type | Recommended Use | Example Products |
|---|---|---|
| Water-based Sealers | Most furniture types, minimal colour change | Minwax Polycrylic, Varathane Water-based Polyurethane |
| Oil-based Sealers | Not recommended over paint | N/A |
| Furniture Wax | Enhances colour, suitable for low traffic | Annie Sloan Wax |
Maintenance and Care for Painted Furniture
Looking after painted furniture is key to keeping it looking good for a long time. I’ve found that taking good care of it can really make a difference. It helps keep the furniture looking new and stops damage from happening.
Tips for Longevity
To keep painted furniture in great shape, I follow some important steps. I check on them often to catch any problems early. Here are some things I do:
- Cleaning painted surfaces weekly using a damp lint-free cloth to avoid abrasive damage.
- Promptly addressing spills to prevent staining and structural damage, as 60% of damage happens when spills are untreated.
- Utilising coasters for beverages and felt backing pads for heavier items, which helps prevent unsightly marks.
- Maintaining stable temperatures to avoid paint damage caused by extreme conditions.
- Conducting annual touch-ups, which 50% of furniture pieces require to maintain their appearance.
Cleaning Your Painted Surfaces
Cleaning painted surfaces is easy but very important. Here’s how I keep my furniture looking good:
- Use a damp cloth for regular dusting, with a preference for microfibre, as it effectively prevents scratches.
- For stubborn stains, I mix mild soap and warm water, applying it with care to avoid over-saturating the surface.
- Always dry the surface thoroughly after cleaning, as leaving it damp can lead to longer-term issues.
- Avoid using harsh chemicals like nail polish remover, which could cause irreversible damage.

By following these tips, my painted furniture stays beautiful and adds to my home. Regular care keeps it looking great for years.
| Maintenance Task | Frequency | Recommended Tools |
|---|---|---|
| Dusting | Weekly | Microfibre cloth |
| Cleaning Spills | As Needed | Mild soap, warm water |
| Inspecting for Damage | Monthly | N/A |
| Touch-ups | Annually | Matching paint |
Common Mistakes to Avoid in Furniture Painting
When I started painting furniture, I learned fast. Avoiding common mistakes makes a big difference. Here are key errors to dodge for a better painting experience.
Overlooking Preparation
Good prep is key for a smooth finish. Skipping this can cause big mistakes in furniture painting. Without proper prep, paint might not stick well, leaving a rough look.
Wood needs to adjust to humidity before painting. If it doesn’t, the paint might crack or peel. Doing thorough prep, like fixing, sanding, and priming, ensures a lasting look.
Using the Wrong Paint Type
The paint you choose is very important. Cheap furniture made from particle board or laminate might not work with all paints. Wrong paint can cause chips, peels, or a bad finish.
Always pick high-quality primers and paints for your material. Don’t put on too much paint, as it can drip and look uneven. This shows why it’s crucial to avoid common errors.
| Common Mistakes | Impact |
|---|---|
| Neglecting preparation | Poor paint adhesion, rough finish |
| Ignoring wood acclimatisation | Cracking or peeling paint |
| Choosing the wrong paint type | Chipping and uneven finish |
| Skipping sanding between coats | Poor paint adherence, uneven surfaces |
| Not removing hardware | Less professional appearance |
| Rushing the drying process | Smudges or damage to the finish |
Inspiration for Your Next Furniture Makeover
Finding the right furniture makeover inspiration is fun. I love looking at blogs that show how old furniture can look new again. The Reinvented Delaware blog is full of dresser makeovers that spark my creativity.
Looking for cheap DIY furniture painting ideas is exciting. I found a baby furniture set for £100 and made it look amazing. I also got an 1800s dresser for £30 at a flea market. It shows you can find great projects for little money.
Spring is the best time for furniture projects. It’s a season of renewal and creativity. In Delaware, over 50 washstands were transformed, showing how different styles can be achieved.
The pandemic made people want to makeover their desks. I took apart a roll-top desk and made new pieces from it. It’s all about making something old new again.
Sharing furniture and hardware with friends is great. We all help each other with our DIY projects. Adding things like floral paper and unique hardware makes our makeovers look even better.
There’s so much inspiration in furniture makeovers. From our own projects to helping others, it’s all about creativity. Working together can make our homes truly special.
Conclusion
I hope this guide on painting furniture has inspired you. With over 10 years of experience, I know it’s rewarding. You can use brands like Sherwin Williams or Dixie Belle paints.
Each step is important, from sanding to sealing. This makes your furniture last longer and look great.
Remember, have fun and be creative. You can distress, layer, or use Terra Clay Paint. This lets you show off your style.
Source Links
- Tips for Painting Furniture: Beginner’s Guide — prettydistressed
- DIY 101: A Beginner’s Guide to Painting Furniture
- How To Paint Furniture: A Beginner’s Guide – Erin Spain
- How to paint decorative furniture for beginners — The OTTO HOUSE
- The No-Fuss Guide to Painting Furniture – Francois et Moi
- The HUX Report Vol 8: Spray Painting vs Hand Painting l HUX London
- How To Paint Furniture
- Furniture Paint – Your Complete Guide
- How To Paint Furniture: A Beginner’s Guide | Cutsmart
- How to Paint Furniture: A Complete Step-by-Step Guide
- What is the best paint for painting / upcycling furniture? (A pros/cons review)
- What Supplies Do I Need to Paint Furniture?
- A Beginners Guide to Painting Furniture
- Furniture Paint – Your Complete Guide
- How to Prep Furniture for Painting
- How to prepare furniture for painting
- The Best Paint for Furniture of Every Type
- The 6 Best Paint Types for Furniture
- Step by Step Guide to Painting Furniture – Beneath My Heart
- How To Paint Furniture For Beginners
- How to Paint Wood Furniture Like a Pro
- How to Seal Painted Furniture and Protect your Paint Finish
- How to Paint Furniture Like a Pro
- How to Seal Painted Furniture: Protecting With a Top Coat
- Maintaining Wooden Furniture: Cleaning and Care Tips for Painted Pieces – Sadolin UK
- How To Care For Painted Furniture
- 10 mistakes to avoid when painting wooden furniture, according to experts
- 6 Mistakes Beginners Make When Painting Furniture
- 35+ Thrifty Before and After Furniture Makeover Ideas
- Spring Inspired DIY Painted Furniture Makeovers – Oak & Grain Home
- To Sand or Not to Sand: The Great Furniture Painting Debate – Tapia Home Co
- MY COMPLETE GUIDE TO PAINTING FURNITURE – Nadine Stay
- Unlock Your Creativity: Breathe New Life into Furniture with Paint
Leave a Reply