
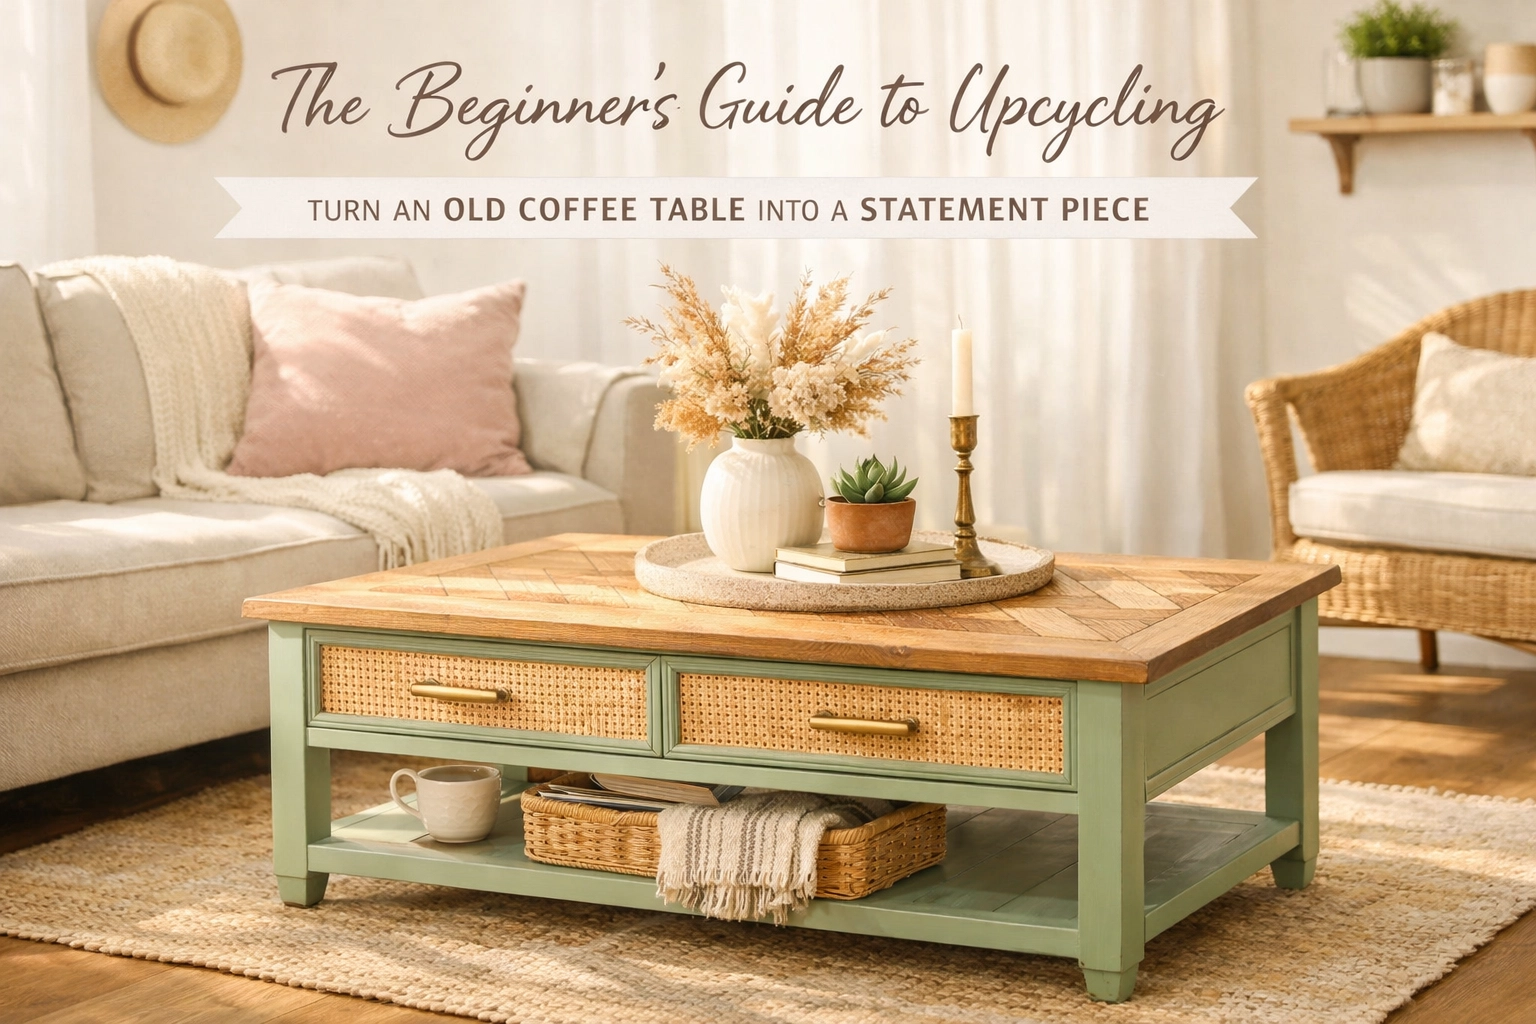
You know that worn-out coffee table sitting in your living room: or maybe gathering dust in your garage? The one with the scratched surface and wonky leg that you keep meaning to replace? Here’s the thing: that tired old piece might actually be your next design triumph. I’ve seen countless coffee tables transform from “charity shop reject” to “where did you GET that?” centerpiece, and honestly, it’s one of my favorite budget-friendly ways to add personality to a space.
This post may contain affiliate links, which means I may receive a small commission at no cost to you if you make a purchase.
Upcycling furniture isn’t just about saving money (though let’s be real, that’s a massive perk). It’s about creating something unique that reflects your style while keeping perfectly good furniture out of landfills. And coffee tables? They’re the absolute perfect starter project for DIY beginners. They’re small enough to not feel overwhelming, but impactful enough that you’ll actually notice the difference in your space.
Why Coffee Tables Make Perfect Upcycling Projects
Coffee tables are honestly the goldilocks of upcycling furniture ideas. They’re not so massive that you’ll spend weeks on the project, but they’re prominent enough in your living room to make a real statement. Plus, because they’re horizontal surfaces that sit at eye level when you’re lounging on the sofa, any beautiful finish or creative detail you add will get noticed and appreciated daily.
I love that coffee tables give you so much creative freedom. Want to try a bold color you’re nervous about? Test it here first. Curious about distressing techniques or experimenting with patterns? A coffee table is your practice canvas that still serves a functional purpose.
What You’ll Need to Get Started
Before we dive in, let’s talk supplies. You don’t need a fully stocked workshop to make this happen: just a few essentials:
For Prep and Cleaning:
- Cleaning solution (dish soap and water works brilliantly)
- Sandpaper in various grits (80, 120, and 220 are your friends)
- Wood filler or epoxy for repairs
- Tack cloth or vacuum
- Screwdriver (for removing hardware)
For Finishing:
- Primer (if you’re painting)
- Paint or stain of your choice (chalk paint is incredibly forgiving for beginners)
- Paintbrushes or foam rollers
- Clear protective sealant (polyurethane or wax)
- Drop cloth to protect your floor
Most of these items you can snag at any hardware store, and the total investment is usually under £50: way less than buying a new coffee table!
Step One: Assessment and Initial Prep
Start by giving your table a proper once-over. Remove any hardware like drawer pulls, knobs, or decorative elements. If the legs detach easily, take them off too: it’ll make the whole process simpler. I always snap a few photos at this stage so I can remember how everything goes back together (trust me on this one).
Clean that baby thoroughly. Years of coaster rings, mystery stains, and general grime need to go. Use a gentle cleaning solution: I mix warm water with a squirt of dish soap: and scrub away. For stubborn spots on wood, a bit of white vinegar can work wonders. Let it dry completely before moving on, ideally overnight.
While you’re cleaning, take note of any damage. Wobbly legs? Deep scratches? Water stains? Write it all down. These issues aren’t deal-breakers; they’re just your to-do list for the next step.
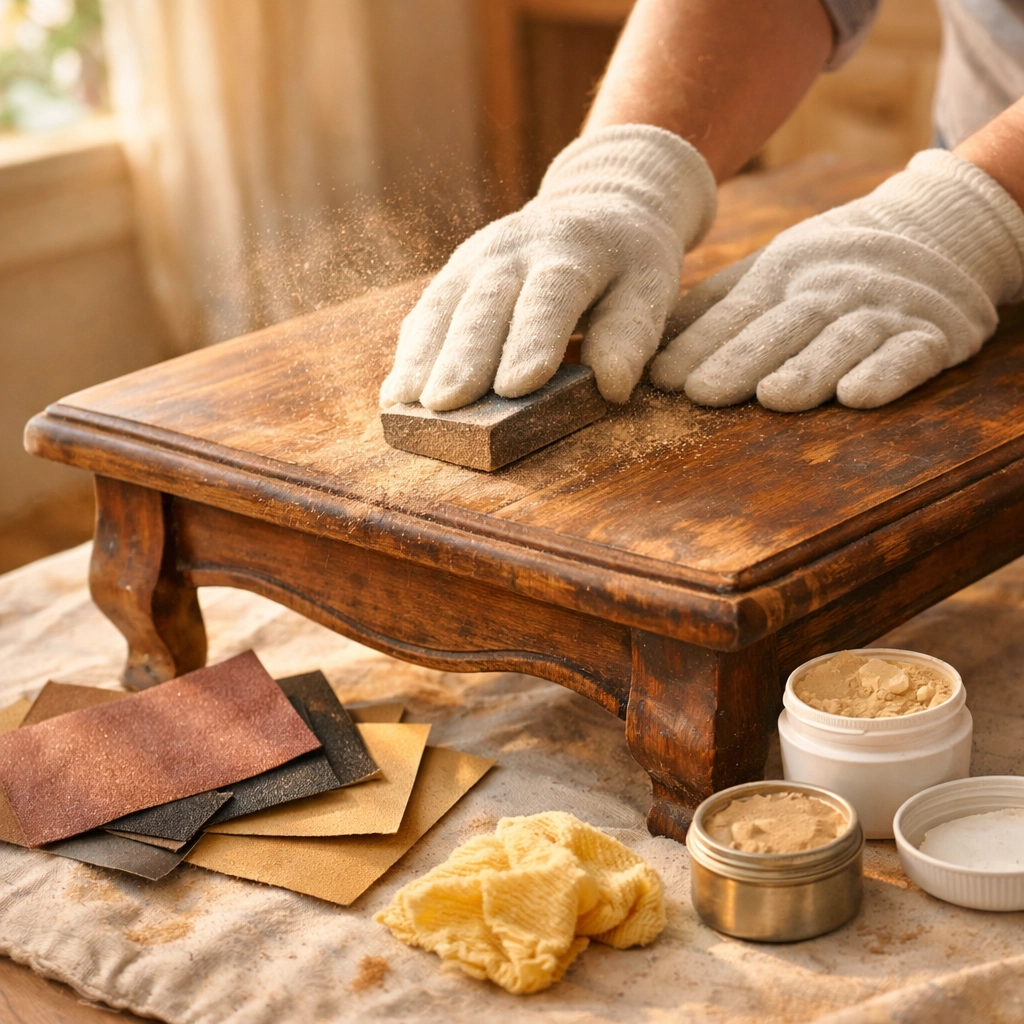
Step Two: Sanding: The Secret to Professional Results
Here’s where beginners sometimes rush, but trust me: proper surface preparation is what separates a DIY project that looks homemade from one that looks professionally crafted. If there’s old paint or varnish, you’ll need to strip it. You can use a chemical paint stripper (follow those instructions carefully and work in a well-ventilated space), or you can sand it off: just know that sanding will take longer.
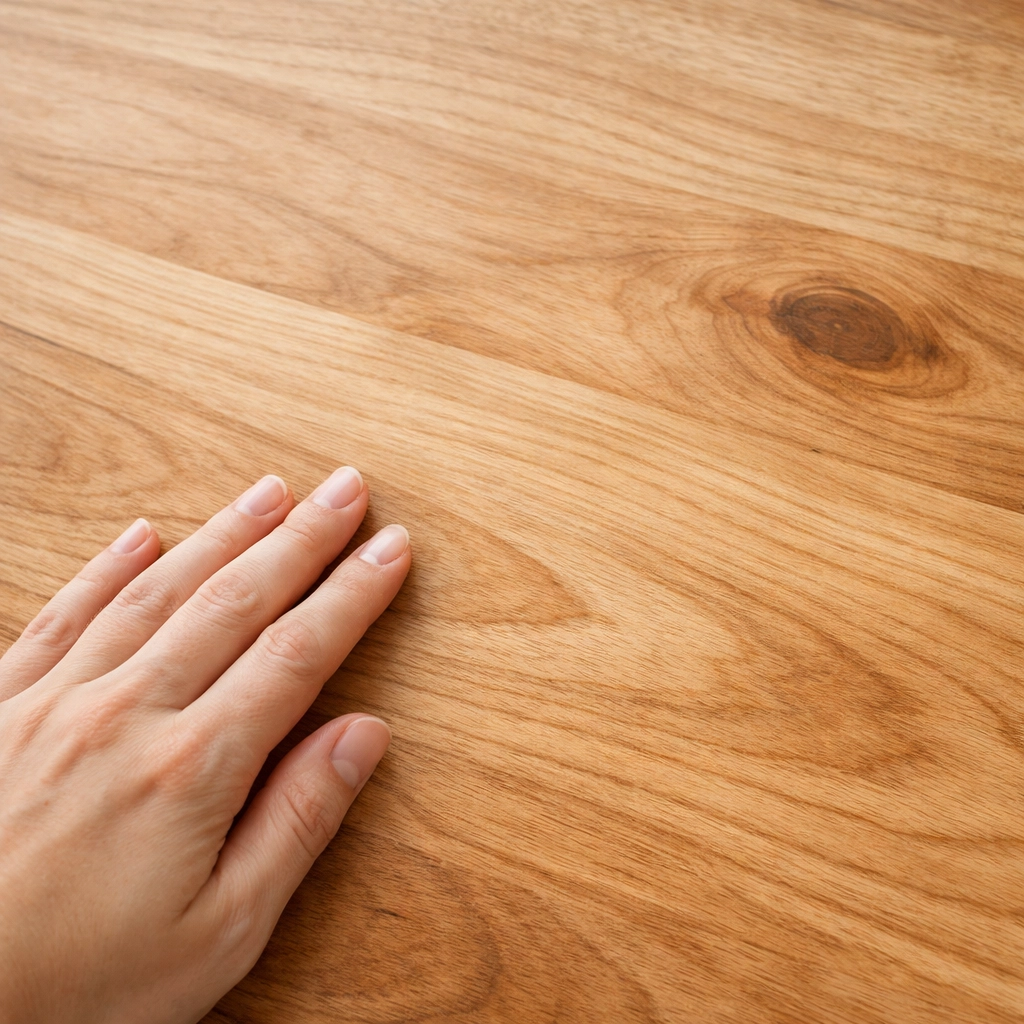
Start with coarser grit sandpaper (around 80-grit) to remove the old finish and smooth out major imperfections. Always sand in the direction of the wood grain: this prevents those telltale scratches. Progress to medium grit (120), then finish with fine grit (220) for a smooth-as-butter surface.
After each sanding stage, wipe everything down with a tack cloth or give it a good vacuum. Dust is your enemy here: any particles left behind will show up in your final finish like uninvited guests at a dinner party.
Step Three: Making Repairs
Now’s the time to address those structural issues you noted earlier. For small holes or cracks, wood filler is your best friend. Apply it generously, let it dry according to package directions, then sand it smooth until it blends seamlessly with the surrounding wood. For deeper damage, epoxy putty provides stronger, more durable repairs.
Got wobbly legs or loose joints? Apply wood glue to the connection points and clamp them together (or use heavy books as weights). If joints are really loose, you might need to add small screws for extra stability. The goal is a table that feels solid and sturdy: no one wants their coffee mug sliding off a wonky surface!
If any hardware needs replacing, now’s when you decide. You can reinstall the original pieces, upgrade to something more stylish, or go minimalist and skip hardware altogether. I’ve seen gorgeous tables where someone replaced dated brass pulls with sleek leather straps or modern matte black knobs: it’s amazing how much personality hardware can add.
Step Four: Choosing Your Finish
This is where your vision comes to life! You’ve got several routes you can take, and honestly, there’s no wrong answer: just different vibes.
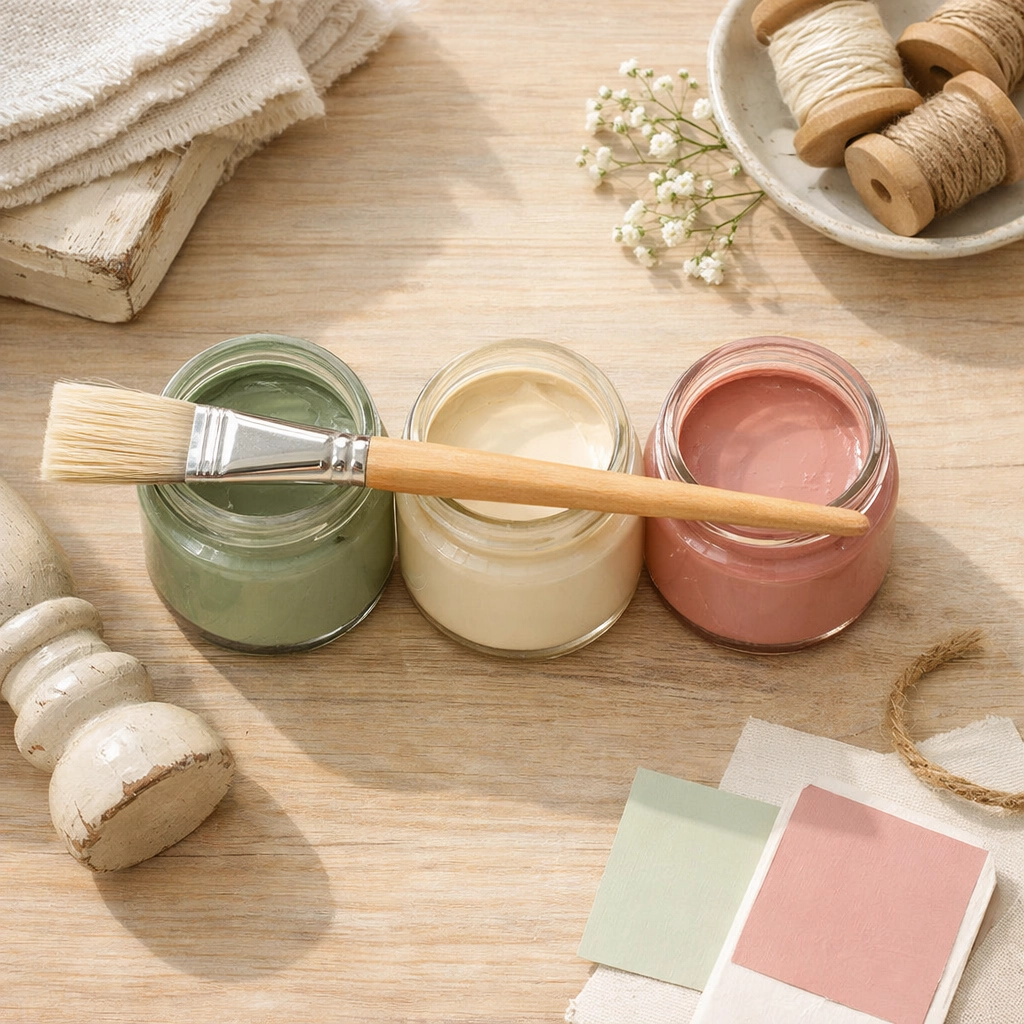
Chalk Paint has become hugely popular for furniture upcycling, and for good reason. It requires minimal prep (often no priming needed), adheres to almost any surface, and dries to a beautiful matte finish. Plus, it’s incredibly forgiving for beginners. You can distress it easily, and mistakes? They often just add to that coveted “shabby chic” character. Colors range from soft neutrals to bold jewel tones, so you can match any style.
Regular Paint (latex or acrylic) gives you endless color options and typically results in a smoother, more contemporary finish. You’ll want to use a good primer first, especially if you’re painting over dark wood or an existing finish. Two to three thin coats work better than one thick coat: patience pays off here.
Wood Stain is perfect if you want to preserve and enhance the natural beauty of the wood grain. It comes in various shades from light honey to deep walnut. The key with staining is applying it generously but wiping away the excess quickly: letting it sit too long can create uneven, blotchy results.
For this guide, let’s focus on chalk paint since it’s so beginner-friendly and delivers that designer look with minimal fuss.
Step Five: Applying Your Chosen Finish
If you’re using chalk paint, you can often skip primer and dive right in (check your specific brand’s instructions). Use a good quality brush or foam roller and apply thin, even coats. I prefer working in the same direction with each stroke for consistency. Don’t stress if the first coat looks a bit streaky: that’s totally normal. Let it dry completely (usually 2-4 hours), then apply your second coat.
Most projects need two to three coats for full coverage. Between coats, lightly sand with very fine sandpaper (220-grit) to remove any brush marks or bubbles, then wipe clean with a tack cloth.
Want that trendy distressed look? Once your final coat is dry, use fine sandpaper to gently rub edges, corners, and areas that would naturally show wear. Think about where a table would actually get knocked about over the years: those are your sweet spots for distressing. This technique adds instant character and hides any future dings beautifully.
If you’re staining instead, apply the stain with a cloth or brush going with the grain. Work in sections, and wipe away excess immediately with a clean rag. Multiple thin coats build richer color better than one heavy application. Let each coat dry completely before adding the next.
Step Six: Sealing for Protection
This step is crucial: don’t skip it! Your beautiful new finish needs protection from daily wear, water rings, and general life. For chalk-painted pieces, you can use either wax or polyurethane.
Furniture wax gives a soft, matte finish and enhances that vintage vibe. Apply it with a cloth in circular motions, let it sit for a few minutes, then buff to a subtle sheen. It’s gorgeous but requires reapplication every few months.
Polyurethane (water-based is easier to work with) provides more durable protection and is better for high-traffic pieces. Apply thin coats with a brush, allowing each to dry completely. Light sanding between coats creates an ultra-smooth finish. Three coats give excellent protection.
For stained tables, polyurethane is your go-to. It protects the wood while adding depth to the color. Apply at least three coats, sanding lightly between each one.
Creative Ideas to Take It Further
Once you’ve mastered the basics, the fun really begins! Consider these ideas for your next coffee table project:
- Patterned tops: Use stencils to add geometric designs, or try your hand at a faux marble finish
- Two-tone look: Paint the base one color and the top another for visual interest
- Decoupage magic: Apply fabric, wallpaper, or decorative paper to the top surface, then seal over it
- Modern metallics: Spray paint the legs in gold or copper for an instant glam upgrade
- Glass top addition: Place a custom-cut piece of glass over a painted or decoupaged surface for a smooth, practical finish
The beauty of DIY home decor projects like this is that you can always paint over it if you change your mind. Nothing is permanent, which means you’re free to experiment without fear.
Your Statement Piece Awaits
Transforming an old coffee table into something spectacular is one of those projects that genuinely feels magical. You take something destined for the curb and turn it into a conversation piece that friends will ask about. Plus, you’ll feel that incredible satisfaction every time you see it: you made that.
The process might seem involved when you read through all the steps, but each one flows naturally into the next. Take your time, work in a well-ventilated space, and don’t stress about perfection. Some of the most charming pieces have little imperfections that give them character and prove they’re handmade with love.
Whether you’re working with a car boot sale find, a family hand-me-down, or your own tired table, you now have all the knowledge you need to create something uniquely yours. And honestly? Once you finish this project, you’ll probably start eyeing every piece of furniture in your home wondering what it could become next. Welcome to the wonderful world of upcycling furniture ideas: consider yourself officially hooked!
Warmly,
Maria
P.S. For more budget-friendly ideas and cozy vibes, come hang out with us on our Charming Homescape Pinterest boards: https://uk.pinterest.com/Charming_Homescape/.
Leave a Reply