

Let me be honest with you: I’ve been there. Staring at the same beige walls, the same tired furniture arrangement, desperately wanting to give my apartment a makeover but feeling paralyzed by the price tag. The dream of a Pinterest-worthy living room seemed completely out of reach, especially when rent was due every month and takeout had a sneaky way of eating up my budget.
But here’s what changed everything for me: realizing that a gorgeous apartment refresh doesn’t require thousands of dollars all at once. With a strategic three-month savings plan, you can transform your rental space without the financial stress or guilt. And no, you don’t need to eat ramen for 90 days straight or give up your morning coffee. You just need a smart system.
“This post contains affiliate links, which means I may receive a small commission at no cost to you if you make a purchase.”
Why Three Months is Your Sweet Spot
Three months hits that perfect balance between “achievable” and “substantial.” It’s long enough to save a decent chunk of money without losing momentum or forgetting why you started. It’s also short enough that you won’t get bored or frustrated waiting for results.
I’ve found that 90 days gives you enough time to save for quality pieces rather than cheap quick-fixes that fall apart in six months. You can actually afford that stunning area rug, those beautiful throw pillows, and maybe even splurge on that statement mirror you’ve been eyeing. Plus, three months naturally aligns with seasonal changes, which means you can plan your refresh around new trends and sales cycles.

Step One: Know Your Number (What Will Your Refresh Actually Cost?)
Before you save a single dollar, you need to understand what you’re working toward. Grab your phone and start scrolling through your favorite decor accounts or check out some of our DIY project ideas for inspiration.
As a renter, you want to focus on non-permanent solutions that won’t cost you your security deposit. Here’s what I typically recommend budgeting for:
Essential Refresh Items:
- Area rugs (starting around $50-200 depending on size)
- Command strips, hooks, and washi tape for damage-free hanging ($20-40)
- Throw pillows and cozy textiles ($40-100)
- Lighting upgrades like string lights or plug-in sconces ($30-80)
- Mirrors to bounce light around ($40-150)
- Wall decals, tapestries, or fabric hangings ($25-75)
- Small furniture pieces like side tables or poufs ($50-150)
For most renters doing a living room refresh, I’d suggest targeting somewhere between $300-600. That gives you enough to make a real impact without breaking the bank. If you’re tackling multiple rooms or want higher-end pieces, adjust accordingly. The point is to be realistic about what you actually need.
Step Two: Create Your Decor Fund (The Game-Changing Tool I Swear By)
Here’s where most budgeting advice falls flat: they tell you to “set money aside” but don’t give you a practical way to do it. Your regular bank account isn’t going to cut it because that decor money will just blend in with everything else.
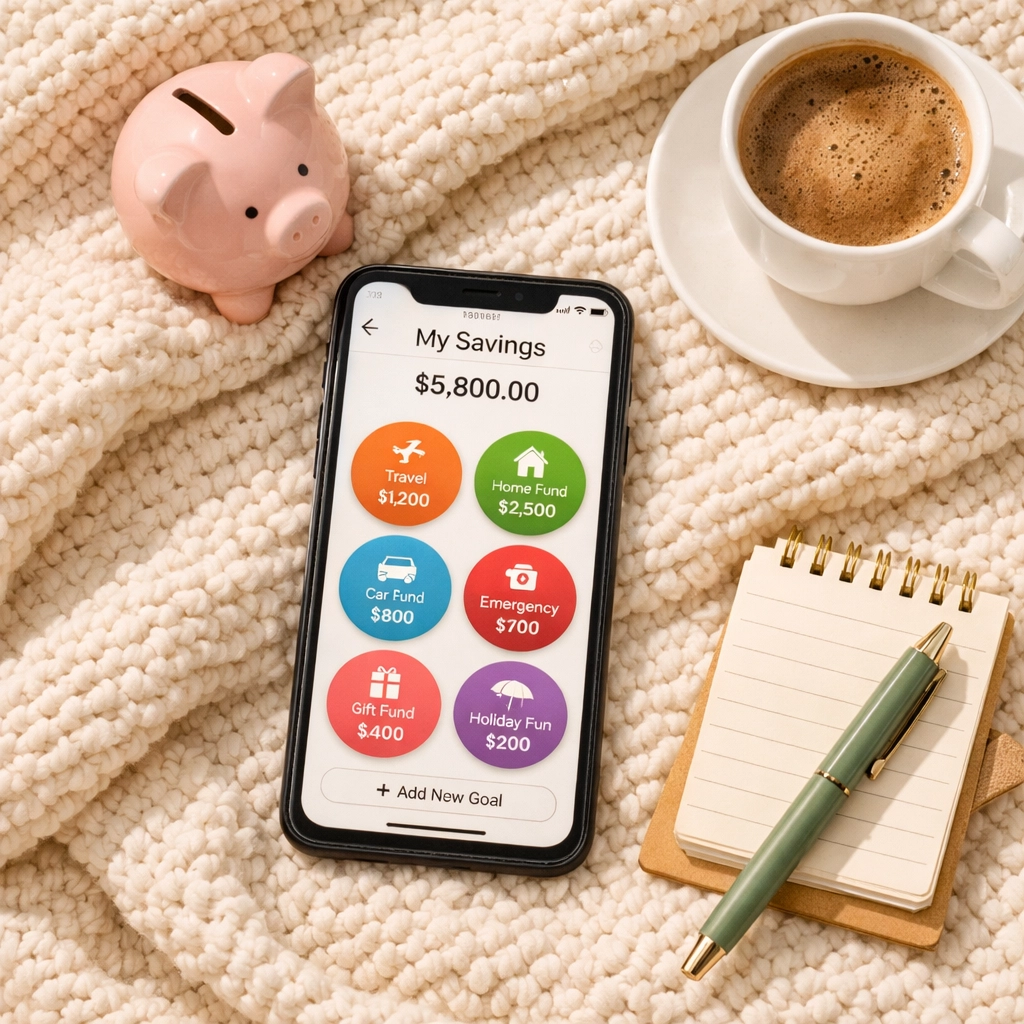
I discovered a game-changing digital tool last year that completely revolutionized how I save for specific goals. It’s a banking app that lets you create separate “Vaults” or “Pockets” within your account, basically little savings compartments that keep your decor fund completely separate from your everyday spending money.
The beauty of this system is psychological. When you can actually see your “Apartment Refresh Fund” growing week by week, separate from your grocery money or emergency savings, you’re way less likely to dip into it for random purchases. It’s like having multiple piggy banks, but everything’s in one app on your phone.
Here’s how I set mine up:
I created a dedicated Vault called “Living Room Glow-Up” and set an automatic weekly transfer of $50 (which adds up to roughly $650 over three months). Every Sunday morning, that money moves automatically before I can even think about spending it on brunch or online shopping. Some weeks I’d throw in an extra $10 or $20 if I had money left over from my budget.
The app also lets me track exactly where my money goes, which means I can see how much I’m spending on decor versus other categories. This was honestly eye-opening, I realized I was dropping $40 a month on random Amazon purchases I didn’t even remember ordering. Redirecting just some of that money made a huge difference.
Want to try this approach? I’ve got an invitation link to the exact tool I use, it takes about five minutes to set up and has genuinely changed how I manage my home decor budget. Grab your invitation and see the tool I use here. Trust me, having that visual separation makes saving so much easier.
Step Three: Your Monthly Breakdown Strategy
Now let’s talk about how to actually hit that three-month goal. Breaking it down by month makes the whole thing feel manageable instead of overwhelming.
Month One: Foundation & Assessment
- Goal: Save $150-200
- Action: Set up your savings Vault and start your automatic transfers
- Shopping: Don’t buy anything yet! Use this month to hunt for deals, measure your space, and create a solid plan
- Bonus tip: Start following your favorite home decor stores on social media to catch sales announcements
Month Two: Strategic Purchasing
- Goal: Save another $150-200 (you’re now at $300-400 total)
- Action: Start buying your foundational pieces: the area rug, basic textiles, organizational items
- Shopping strategy: Look for mid-month sales and clearance sections
- Pro move: If you spot an amazing deal on your wishlist item, you can dip into your fund early
Month Three: The Fun Stuff
- Goal: Final $150-200 saved (total now $450-600)
- Action: Purchase your statement pieces and finishing touches
- Shopping: This is when you splurge on that gorgeous mirror or those perfect throw pillows
- Reward: Actually complete your refresh and enjoy your beautiful new space!
Step Four: Make Your Money Work Harder
Saving is only half the battle: spending smart is what really stretches your budget. Here are my favorite strategies for getting more bang for your buck:
Shop with intention: Before you buy anything, sit with it for 24 hours. I can’t tell you how many times I’ve talked myself out of impulse purchases that didn’t actually fit my vision.
Track every decor purchase separately: This is where that banking app really shines. By using a dedicated card or Pocket for all home purchases, you can see exactly where every dollar goes. It’s incredibly satisfying to watch your Vault decrease while your apartment beauty increases.
Embrace the thrift hunt: Some of my absolute favorite pieces came from Facebook Marketplace and thrift stores. That vintage mirror I found for $30? Would’ve been $150 new. Your three-month timeline gives you enough breathing room to hunt for secondhand gems.
Stack your savings: Use cashback apps, store rewards programs, and credit card points strategically. Every little bit adds up, and you can funnel those savings right back into your decor fund.
Staying Motivated When Temptation Strikes
Let’s be real: three months can feel long when you really want that new wall hanging right now. Here’s how I stay on track:
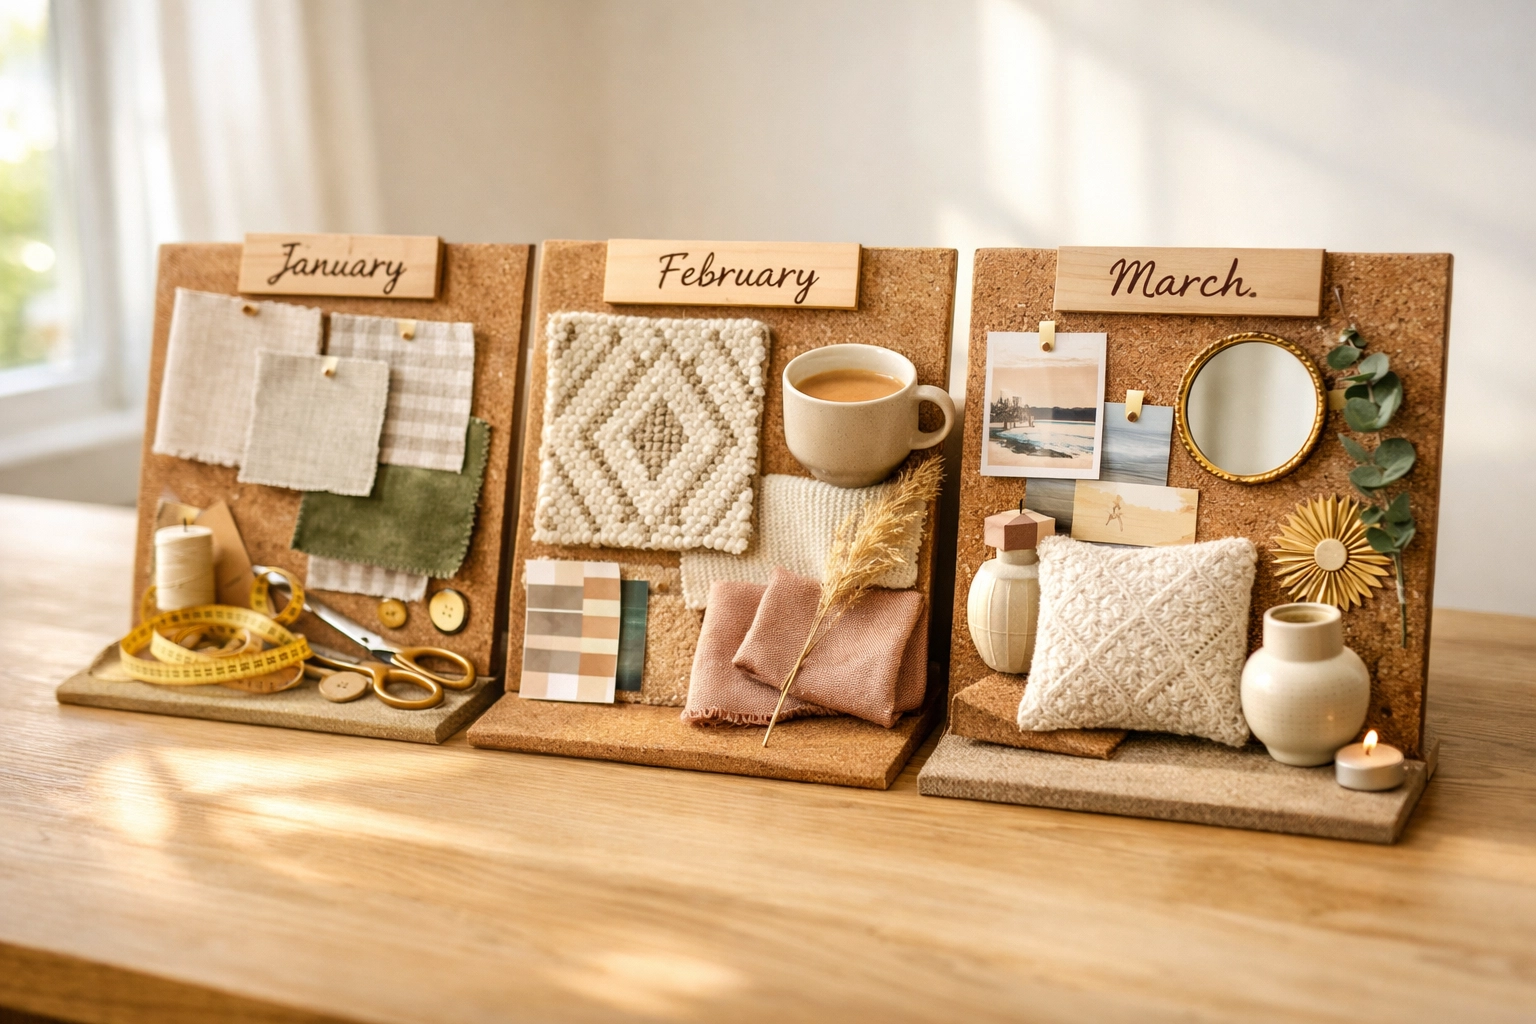
Create a visual inspiration board: whether that’s on Pinterest or a physical board in your space. When I’m tempted to raid my savings for something random, I look at my vision board and remember what I’m actually working toward. Our Pinterest boards are full of budget-friendly ideas if you need inspiration!
Celebrate the milestones. Hit your first $100 saved? Treat yourself to a coffee or a small plant. Reached month two? Do a little happy dance. These small celebrations keep the momentum going without derailing your progress.
Find a budget buddy. Whether it’s a friend who’s also saving for something or an online community, having someone to share progress updates with makes the journey way more fun. I love sharing my savings wins and decor finds with fellow home enthusiasts.

The Moment It All Comes Together
There’s something magical about that day when you’ve hit your savings goal and you get to actually implement your refresh. You’re not stressed about money, you’re not feeling guilty about overspending, and you’re not putting anything on a credit card that’ll haunt you for months.
Instead, you’re thoughtfully placing that new rug, arranging those pillows, hanging that art: and you own this moment. You saved for it, planned for it, and now you get to enjoy it without any financial anxiety hanging over your head.
For more ideas on what to do with your newly saved budget, check out our guide on how to create a clutter-free home with stylish storage hacks or explore some easy DIY projects to transform your living room.
Ready to Start Your Three-Month Journey?
The difference between dreaming about a beautiful apartment and actually having one often comes down to having a solid plan and the right tools to execute it. That digital banking tool I mentioned? It’s honestly been the secret weapon in my decor-on-a-budget arsenal.
Grab your invitation and see the tool I use here and set up your own dedicated decor fund. It takes less time than scrolling through Instagram, and three months from now, you’ll be thanking yourself while you’re lounging in your gorgeously refreshed space.
Your dream apartment doesn’t require a massive income or a trust fund. It just requires a little patience, smart planning, and a system that actually works with how you live. You’ve got this.
Warmly,
Maria
P.S. For more renter-friendly ideas, budget-saving tips, and cozy vibes, come hang out with us on our Charming Homescape Pinterest boards! I’m always sharing my latest finds and DIY victories.
Leave a Reply