
You know that feeling when you walk into a room and there's just this massive, blank wall staring back at you? It's like it's judging your entire decorating game. I've been there: standing in my living room, coffee in hand, wondering how on earth I'm supposed to fill that enormous stretch of white without taking out a second mortgage. Large walls can feel intimidating, but here's the secret: you don't need a designer budget or an art degree to make them look absolutely stunning.
This post contains affiliate links, which means I may receive a small commission at no cost to you if you make a purchase.
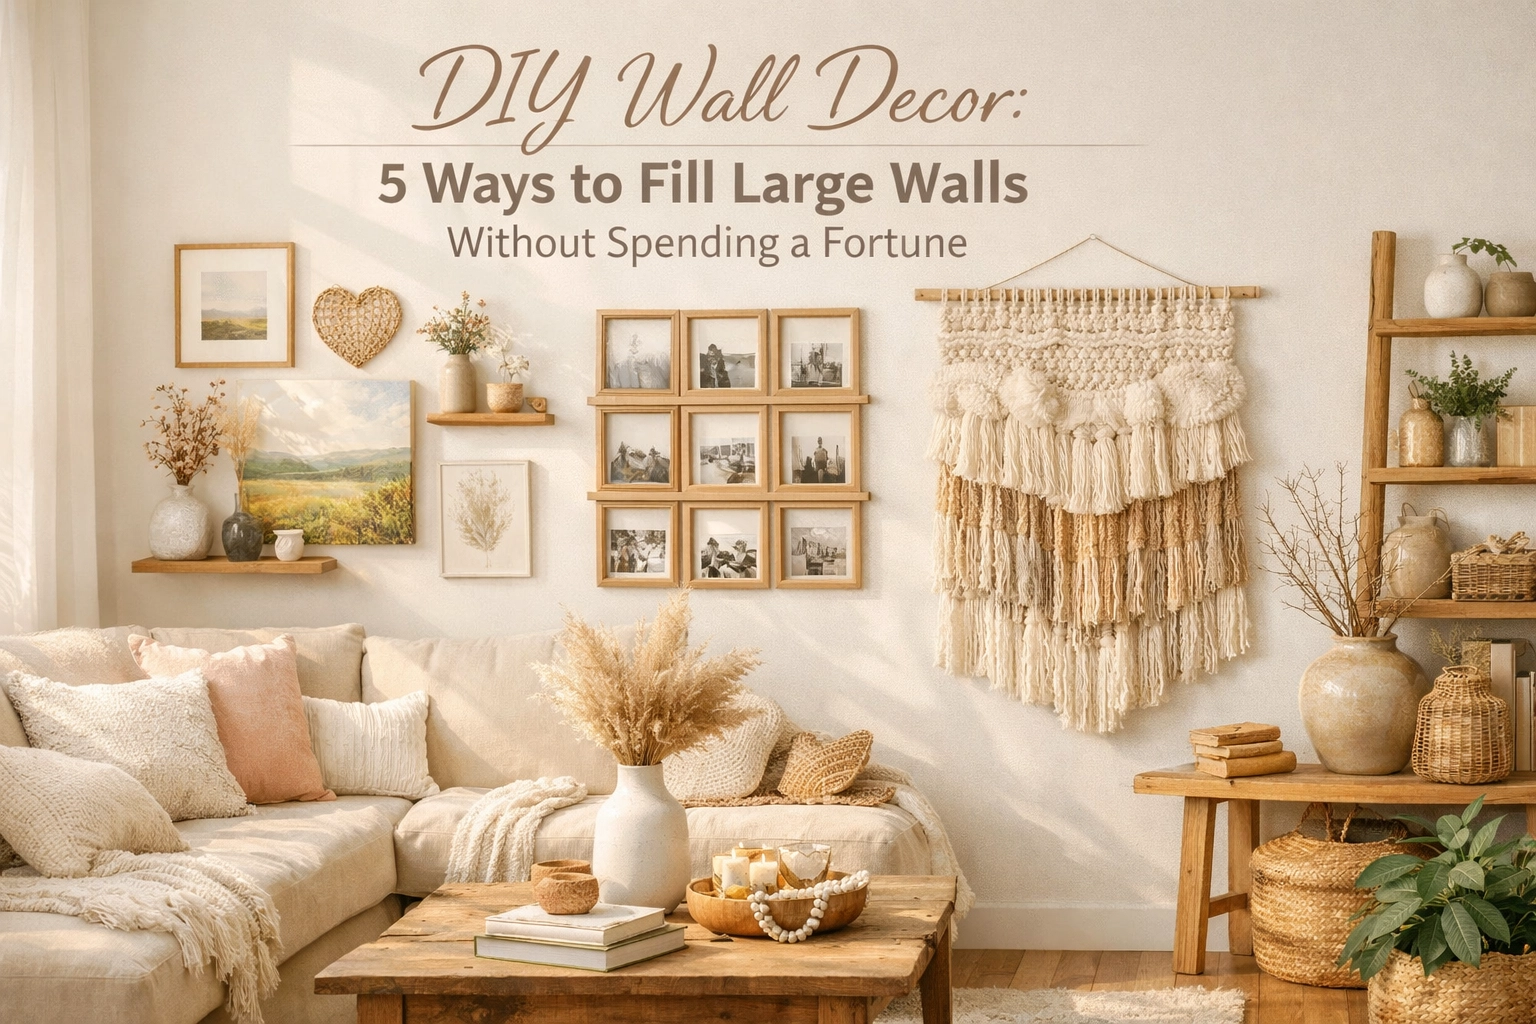
The beauty of DIY wall decor ideas is that they let you create something uniquely yours while keeping your wallet happy. Whether you're working with a long hallway wall, a towering living room feature wall, or that awkward space above your sofa, there are creative, affordable ways to transform blank canvas into something spectacular. Let's dive into five budget-friendly approaches that will have your walls looking like they were styled by a professional: without the professional price tag.
1. Create Your Own Oversized Art with Thrifted Frames and Fabric
One of my favorite tricks for filling large walls is creating oversized art pieces using materials you probably already have or can find for next to nothing. Here's the thing: big art commands big prices at stores, but you can achieve the same visual impact by thinking a bit outside the frame.
Start by hunting for large frames at thrift stores, charity shops, or even Facebook Marketplace. You'd be amazed at what people are giving away or selling for a few pounds. Look for frames in the 24×36 inch range or larger: don't worry if they're dated or the wrong color, because you can easily spray paint them to match your space.

Once you have your frame, the fun begins. Instead of expensive canvas art, consider using fabric remnants, wallpaper samples, or even wrapping paper with bold patterns. Fabric stores often sell end-of-bolt pieces at significant discounts, and you only need enough to fill your frame. Stretched taut behind the glass (or without glass for a more casual look), these materials create stunning statement pieces that look far more expensive than they are.
Another approach I love is printing digital art. Websites like Etsy offer downloadable prints for around £5-10, which you can then have printed at local print shops like Vistaprint or even your local photography store for a fraction of what framed art would cost. A single oversized print in a thrifted frame can anchor an entire wall and set the tone for your room's aesthetic.
For an even more budget-conscious option, try painting your own abstract art. You don't need technical skills, honestly, some of the most striking modern art is just bold color blocking or simple geometric shapes. Grab some acrylic paint samples from your local hardware store (they're typically £3-5 each), a large canvas or board, and let your creativity flow. The beauty of abstract art is that it's meant to be interpretive: there's no wrong way to do it.
2. Master the Gallery Wall on a Shoestring Budget
Gallery walls have been having a moment for years now, and for good reason: they're incredibly versatile, totally customizable, and perfect for filling large wall spaces without breaking the bank. The key to a successful gallery wall is mixing different elements: varying frame sizes, different art styles, photographs, and even three-dimensional objects.
Start by collecting frames from different sources. Pound shops, IKEA, and charity shops are goldmines for affordable frames. Don't worry about them matching perfectly: actually, a mix of finishes (black, white, natural wood, brass) often creates more visual interest than a perfectly matched set. You can always spray paint frames if you want more cohesion.

For the actual content of your gallery wall, think beyond traditional art prints. Family photos, postcards from travels, pages from vintage books, pressed botanicals, fabric swatches, and even your kids' artwork all deserve a spot. I've seen gorgeous gallery walls that incorporate mirrors, small shelves, and decorative plates alongside framed pieces: it's this mix of textures and depths that makes the installation feel curated rather than predictable.
Before hammering a single nail, lay your arrangement out on the floor. Take a photo from above so you can reference it when you're hanging. This step saves so many headaches and extra holes in your wall. A good rule of thumb is to keep about 2-3 inches between each frame, though you can go tighter for a salon-style look or wider for something more contemporary.
If you're a renter or commitment-phobe, consider using removable picture hanging strips instead of nails. They hold surprisingly well and won't damage your walls when you eventually want to rearrange (because let's be honest, you will).
The beauty of gallery walls is that they're never really "finished": you can add to them over time as you find new pieces or as your style evolves. Start with a core group of 5-7 pieces and expand from there. This approach is much easier on your budget than trying to fill everything at once.
3. Hang Rugs, Tapestries, or Textiles for Instant Texture
Here's a decor trick that's been around for centuries but feels completely fresh right now: hanging textiles on your walls. Rugs, tapestries, vintage quilts, and woven wall hangings add instant warmth, texture, and visual interest to large walls: and they're often more affordable than you'd think.
Vintage and antique shops frequently have beautiful textiles that were originally meant for other purposes but work beautifully as wall art. That faded Persian rug that's too worn for foot traffic? Absolutely stunning on a wall. A colorful Moroccan blanket? Perfect above your bed or sofa. Even large scarves or fabric panels can be mounted to create a bohemian, collected look.
The practical benefit of textile wall decor is that it also helps with acoustics: particularly helpful in rooms with high ceilings or hard flooring where sound tends to bounce around. Plus, textiles add a softness that painted art can't quite replicate, making spaces feel more inviting and cozy.
Hanging textiles is easier than you might think. For lighter pieces, a simple curtain rod or even a wooden dowel works perfectly: just slip it through the top or fold the textile over the rod and secure with decorative clips. For heavier rugs, you can create a hanging sleeve on the back or use a rug hanging system (essentially heavy-duty Velcro strips designed for this purpose).

If you're crafty, consider creating your own wall hanging using yarn, rope, or fabric strips. Macramé wall hangings are having a serious moment, and while intricate pieces can be expensive to buy, basic knots are surprisingly easy to learn from YouTube tutorials. A large-scale macramé piece makes a stunning focal point and costs primarily your time plus about £20-30 in materials.
Thrift stores and car boot sales are treasure troves for affordable textiles. Keep an open mind: that tablecloth with beautiful embroidery could be tomorrow's statement wall piece. The key is looking at items not for their intended purpose but for their visual potential.
4. Create Architectural Interest with Molding, Trim, or Wood Accents
Sometimes the most impressive wall treatments aren't about adding art at all: they're about adding dimension and architectural detail. Board and batten, picture frame molding, or simple wood accent walls create visual interest that makes large walls feel intentional and designed, not just filled.
The beauty of this approach is that you're essentially creating art through structure. A grid of painted molding can turn a boring wall into a sophisticated focal point. Vertical wood planks can make ceilings feel higher while adding gorgeous texture. These treatments work beautifully in both traditional and modern spaces, depending on how you style them.
For a budget-friendly approach to this look, MDF trim is your best friend. It's inexpensive, lightweight, easy to cut, and takes paint beautifully. You can find it at any hardware store for a fraction of what decorative wall panels would cost. Plan your design using painter's tape first to visualize the proportions, then measure, cut, attach with adhesive and finishing nails, fill the nail holes, caulk the seams, and paint.
A particularly popular (and renter-friendly) option is creating a faux board and batten look using painted lines instead of actual trim. It's pure trompe-l'oeil: painter's tape, two shades of paint, and some patience create the illusion of dimensional molding for practically nothing. This technique works especially well in rentals where you might not be allowed to attach anything permanent to the walls.

If you're feeling more ambitious, consider a wood accent wall using reclaimed wood, fence pickets, or even paint stirrers arranged in geometric patterns. These projects require a bit more time and basic tools, but the material costs remain quite reasonable, especially if you can source reclaimed wood from renovation projects or online marketplaces. The horizontal plank look is particularly effective for making narrow rooms feel wider, while vertical planks draw the eye upward.
The trick with architectural wall treatments is keeping your proportions balanced. For board and batten or picture frame molding, measure your wall height and divide it into thirds or quarters to determine spacing. Too many small sections look busy, while too few large sections can feel empty. When in doubt, sketch it out or use painter's tape to mock up the design before committing.
5. Combine Mirrors and Strategic Arrangements for Maximum Impact
Large mirrors are the secret weapon of small space decorating, but they're equally powerful on big walls. They reflect light, create the illusion of more space, and can be grouped together to fill substantial wall real estate without the visual weight of solid art.
The key to using mirrors successfully on large walls is thinking beyond the single statement mirror. While one oversized mirror can work beautifully, creating an arrangement of multiple mirrors in varying sizes and shapes often makes a bigger impact. This approach is also more budget-friendly since smaller mirrors are easier to find affordably than one large designer piece.
Thrift stores and charity shops nearly always have mirrors: in fact, they often have more mirrors than they know what to do with. The frames might be outdated, but remember: spray paint is your friend. A collection of mismatched mirrors unified by a coat of matte black or brass gold paint suddenly looks intentional and curated. You can even remove the frames entirely for a more modern, layered look where different shaped mirrors overlap slightly.
For renters or those who like to change things frequently, adhesive mirror tiles offer an affordable, non-permanent solution. These self-stick mirrors can be arranged in geometric patterns, creating a modern, faceted look that's completely customizable. While individual mirror tiles are small, arranging multiple packs in a pattern can cover substantial wall space.
Another approach combines mirrors with other elements: think of a mirror as the anchor piece in a larger arrangement that includes sconces, shelves, or framed art. This mixed-media approach keeps large walls from feeling too one-dimensional while letting each element breathe.
Bringing It All Together
The secret to successfully decorating large walls on a budget isn't any single technique: it's understanding that blank space is an opportunity, not a problem. Whether you create oversized art from thrifted finds, build a gallery wall that tells your story, hang textiles for warmth and texture, add architectural detail with trim, or use mirrors to play with light and space, you're transforming your home into a reflection of your personal style.
Remember that you don't need to fill an entire wall in one go. Starting with one strong element and building around it over time actually creates a more collected, curated look than rushing to cover every inch immediately. Let your space evolve naturally, adding pieces as you find them and as your budget allows.
The most important thing? Stop looking at that large wall as intimidating and start seeing it as your canvas. With creativity, patience, and these budget-friendly approaches, you can create something absolutely beautiful without spending a fortune. Your walls are waiting to tell your story: it's time to give them something worth talking about.
Warmly,
Maria
P.S. For more budget-friendly ideas and cozy vibes, come hang out with us on our Charming Homescape Pinterest boards!
Leave a Reply